Steampunk Gear Wheel
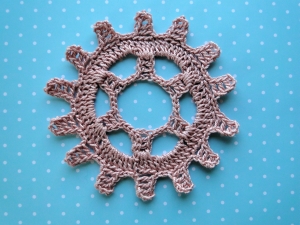
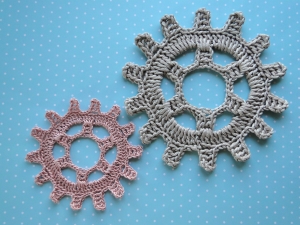
It's a gear. It's a wheel. It's an appliqué. It could be a coaster!
|
|
Where did I get the idea for this design? Well, I was chatting with my pal Ali (aka author Phoebe Darqueling) about my crochet and she asked if I could work up a version of her gear icon which you can see on her steampunk site For Whom the Gear Turns!
And I'm pretty pleased with the result. It was certainly a challenge... and now she's given me another one - to make an appliqué of steampunk goggles. This one's still simmering in my brain, but hopefully I'll be able to think about that over the summer.
OK - onto the gear!
Gear Pattern
Just a quick note - when working into a chain stitch, I work under two loops :)
Round 1: Ch 30, ss into 1st ch worked to make a ring.
Here's how I make the slip stitch so that I can work into the right side of the chain without it twisting:
Insert hook into first chain from front to back. Tail end behind hook:
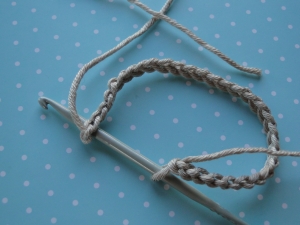
Make your slip stitch. Now all of your chain stitches will sit nicely, their right sides facing you:
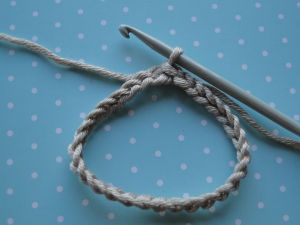
*Ch 5, miss first 3 ch from hook, 1 dc (UK tr) into each of next two chain from hook - first cog made.
Miss next ch on ring, ss into each of next 4 ch.*
Here's the first cog and the following slip stitches:
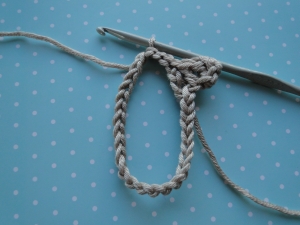
Repeat from * to * four times so that you have five cogs.
Last cog: ch 5, miss first 3 ch from hook, 1 dc (UK tr) into each of next two chain from hook. Miss next ch on ring, ss into each of next 3 ch.
Ss into 1st chain of ring - I've put a pink thread through the stitch to mark it:
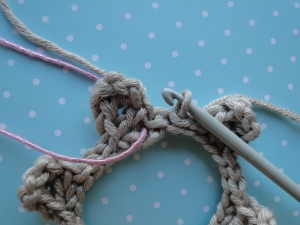
Ss into bottom space of cog, right above the first stitch you have just worked into.
Ss into next two spaces of cog so that you end up in the space at the top of the cog:
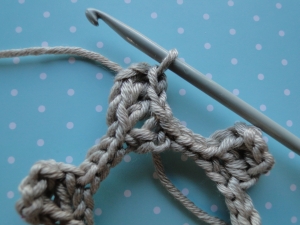
Round 2: Ch 1, ss into same space at top of cog again.
*Ch 8, ss into top space of next cog.*
Work from * to * around, joining with a ss into the top of the first cog.
Our gear is curling up a little at the moment, but after the next round it will straighten up again:
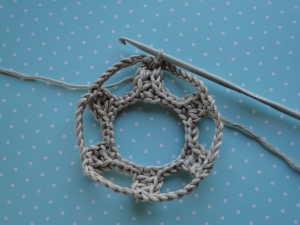
Round 3: Ch 3 (counts as 1st stitch) 3 dc (UK tr) into same space at top of cog:
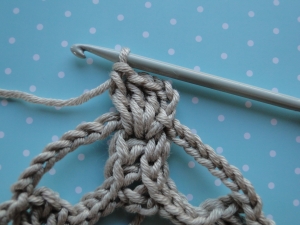
8 dc (UK tr) around next 8 ch loop:
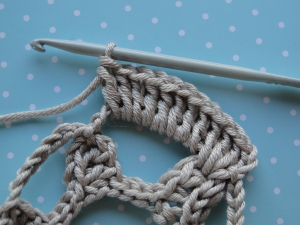
*4 dc (UK tr) into top of next cog, 8 dc (UK tr) around 8 ch loop*
Repeat from * to * four times.
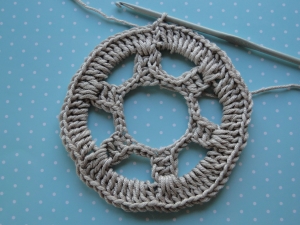
Join with a ss into the top of your ch 3.
You should now have 72 stitches:
Round 4:
Cog 1
Ch 6, miss first 3 ch from hook, dc (UK tr) into each of next 3 ch, skip next 3 stitches of circle, ss into each of next 3 stitches around circle.
NB: the first stitch you miss is almost hidden because of the slip stitch pulling it a bit. Pull your work apart a little to check that you have spotted it!
Here we are starting cog 2:
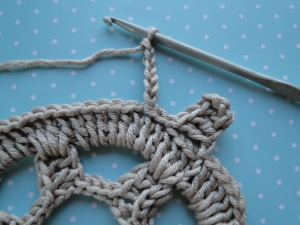
Cogs 2 - 7
Ch 6, miss first 3 ch from hook, dc (UK tr) into each of next 3 ch, skip next 2 stitches of circle, ss into each of next 3 stitches.
Cog 8
As Cog 1
Cogs 9 - 14
As Cogs 2 - 7, finishing your final ss after Cog 14 into the joining ss from the last round:
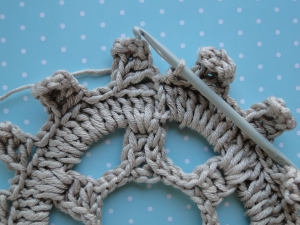
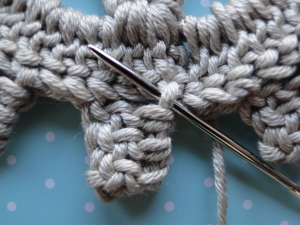
Tie off and weave this tail end through the back of the first cog you made - I pop it through this loop right in the corner and then weave it in a bit more:
Your finished gear wheel:
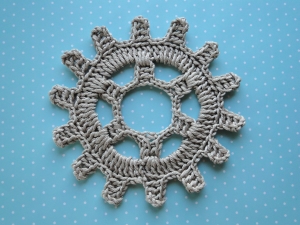
Weave in your starting tail end.
I pressed my gears with a steam iron on the back to flatten them out nicely.
If you enjoyed this pattern, you might like to try out my Penny Farthing Appliqué:
~~~~~
