Crochet a Silver Star
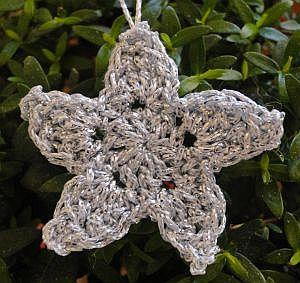
I loved making this star! It's so pretty! This one has five points and here in the pic it's sitting in my bonsai tree :)
|
|
The yarn is called Goldfingering - from Twilleys of Stamford.
This is light fingering weight. I've used a 2.75 mm hook and the star measures just over one and half inches at its widest, around 4 cm.
The pattern:
US Terms:
Make a magic ring - leave a long tail end if you want to hang your star up afterwards. Chain 2.
Round 1: Work 10 dc into ring. Join into first dc with a sc.
Round 2: Chain 1. In same stitch (the first dc you joined into) work the following:
1 dc, 1 tr, 3 ch, sc into top of tr just worked - picot made, 1 tr, 1 dc, 1 sc.
Picot pic below in Step 5 if you want to check it!
First point of star made.
*Next stitch: 1 sc.
Next stitch: 1 sc, 1 dc, 1 tr, 3 ch, dc into top of tr just worked, 1 tr, 1 dc, 1 sc.*
Second star point made.
Repeat from * to * three more times.
Next stitch: slip stitch.
Fastening off and finishing:
Cut your yarn and pull the tail up through your slip stitch. Then I weave that end through the back loop of
the following stitch and to the other side of the star to make everything look nice and tidy. If you want to hang your star up, leave a longer yarn end.
See how I make a little hanger from the yarn ends below
UK Terms:
Make a magic ring - leave a long tail end if you want to hang your star up afterwards. Chain 2.
Round 1: Work 10 tr into ring. Join into first tr with a dc.
Round 2: Chain 1. In same stitch (the first dc you joined into) work the following:
1 tr, 1 dtr, 3 ch, dc into top of dtr just worked - picot made, 1 dtr, 1 tr, 1 dc.
Picot pic below in Step 5 if you want to check it!
First point of star made.
*dc into next stitch.
Next stitch: 1 dc, 1 tr, 1 dtr, 3 ch, dc into top of dtr just worked, 1 dtr, 1 tr, 1 dc*
Second star point made.
Repeat from * to * three more times.
Next stitch: slip stitch. See above for finishing.
Silver Star Tutorial
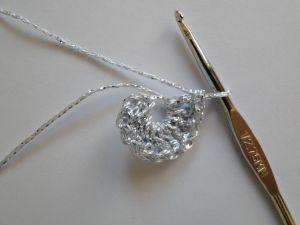 |
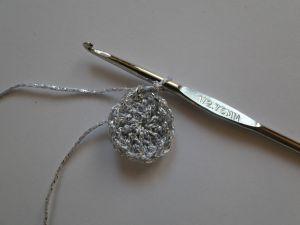
1. Make a magic ring. Ch 2. Then work 10 dc (UK tr) into ring. |
 |
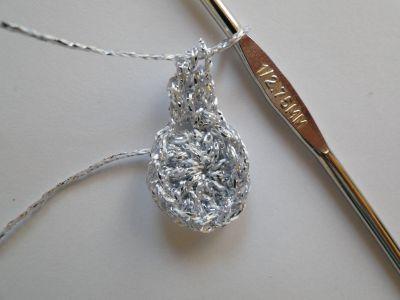
2. Join with a sc (UK dc) into the first treble. Close the ring gently. If you are using the Goldfingering yarn, do not tug or pull too tight, as the yarn may break! |
 |
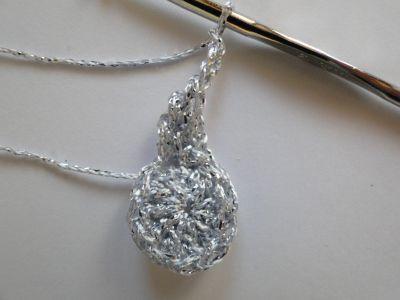
3. Chain 1. Into the same stitch where you just joined in step 2, work: 1 dc (UK tr), and 1 tr (UK dtr) |
 |
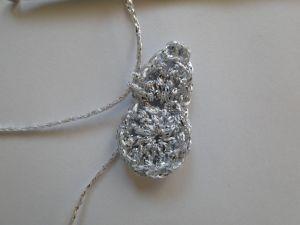
4. Now for the picot :) Chain 3. |
 |
5. Work a sc (UK dc) into the top of the tr (UK dtr) you made. With this yarn I worked into the two loops at the front bottom of that stitch. When working with cotton thread, I just worked under usual the two loops of the actual stitch. |
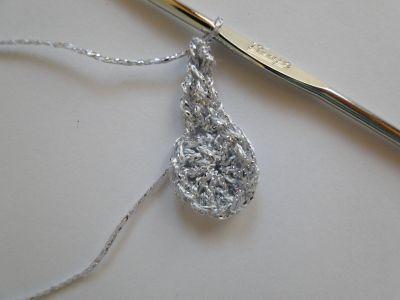 |
Now you have a picot in the middle of your star point. |
 |
6. Now, working back down into the same joining stitch as step 2, complete the point: 1 tr (UK dtr), 1 dc (UK tr), 1 sc (UK dc) First star point completed! |
 |
7. Work 1 sc (UK dc) into next stitch. Take care not to miss a stitch here; this one likes to hide a little. If necessary, pull the edge of the circle out a little to see all the stitches clearly. |
8. Now make your next star point. Into next stitch, work:
- 1 sc (UK dc)
- 1 dc (UK tr)
- 1 tr (UK dtr)
- the picot (3 chain and a sc (UK dc) into the top of the tr (UK dtr) you just made)
- 1 tr (UK dtr)
- 1 dc (UK tr)
- 1 sc (UK dc)
Repeat steps 7 and 8 three more times.
Then work 1 slip stitch into the next stitch:
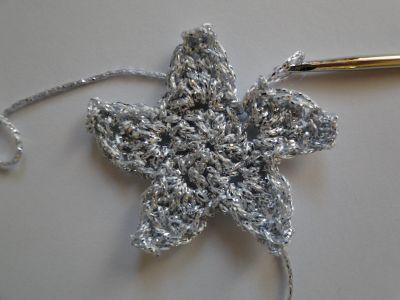
Snip your yarn, pull the end through the slip stitch, and weave in to the back.
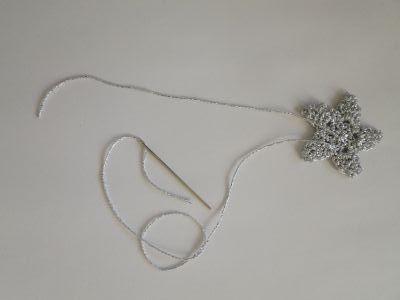
Finishing your crochet star
 |
 |
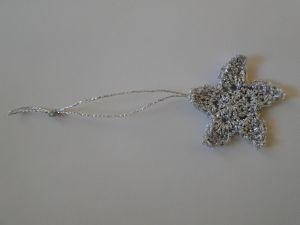 |
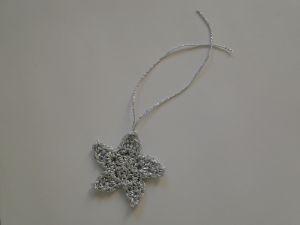
You can make a little hanger out of the two yarn ends.
Weave each end up through the back of the star up to the top of one of the star points.
Then tie them together. There - all done!
~~~~~
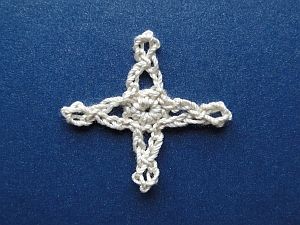
Two more star crochet patterns on the site:
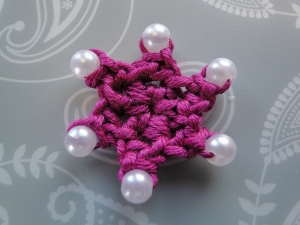
...and the Pearly Picot Star!
~~~~~
