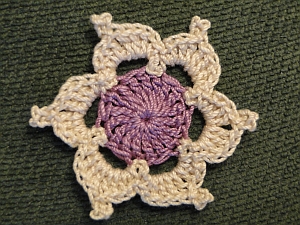
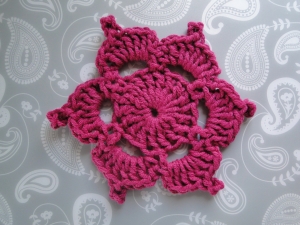
The Picotif!
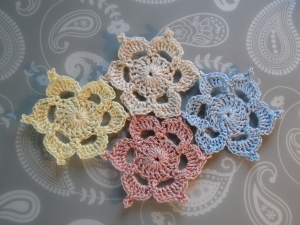
This crochet motif pattern starts off fast, with 17 long stitches worked into a chain stitch to make a circle. Add your loops in the next round... fill in the loops, popping picots on top - and voilà!
Work in one color, or work the first round in your first color, the last two rounds in the next:
|
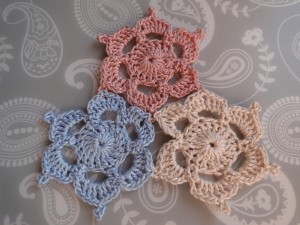
Thread weight cotton yarn, 1.75 mm hook, measures just under 2 inches/4.5 cm picot to picot across. |
LB Cotton Ease, Aran weight, 5 mm hook, measures around 5 inches/12 cm picot to picot across. |
|
|
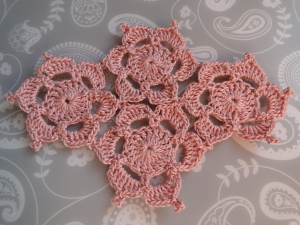
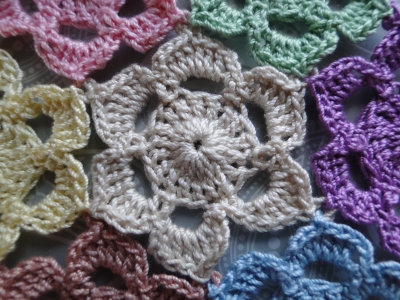
Learn how to join your Picotifs in my step by step tutorial, to create something super special - this is a "join as you go" approach, which misses off some of the picots. So please check out my method first so that you can join the motifs successfully.
 |
 |
 |
 |
I'll give you the written pattern first of all, then a quick photo guide below.
Two tips: how to work the picots - and starting the circle
How to work the picot: ch 5, ss into 5th ch from hook :)
~~~~~
When working your 17 stitches into the 5th chain from hook at the beginning, I insert my hook under the top two loops of that chain as I think it makes for a neater circle.
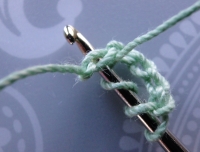 Work stitches under top two loops of that chain. |
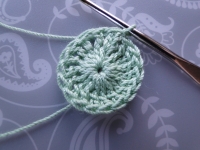 Now we have a neat middle to the circle. |
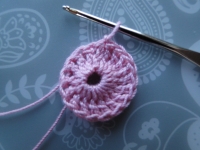 If I only work under one loop of the chain with my 17 stitches, this is the result - whoops! |
The Picotif - written pattern
US Terms:
Round 1: ch 5, 17 trc into 5th chain from hook, join with a ss into 1st trc
~~ If changing colors, join your new color into the last trc - work in first color until you have 2 loops left on hook, change to new color, and pull new color through last 2 loops. Then ss into the 1st trc made ~~
Round 2: ch 7, skip 1st stitch you joined into, ss into next 2 stitches (first loop made)
(ch 7, skip the stitch you have just made a ss into, skip next stitch, ss into next 2 stitches) four times (five loops now completed)
ch 7, skip the stitch you have just made a ss into, skip next stitch, ss into next stitch, ss into joining ss you made end of round 1 (six loops done!)
Round 3: (1 sc, ch 2, 3 dc, picot, 3 dc, ch 2, 1 sc) into each 7 chain loop around.
To finish: ss into 1st sc
~~~~~
UK Terms:
Round 1: ch 5, 17 dtr into 5th chain from hook, join with a ss into 1st dtr
~~ If changing colors, join your new color into the last dtr - work in first color until you have 2 loops left on hook, change to new color, and pull new color through last 2 loops. Then ss into the 1st dtr made ~~
Round 2: ch 7, skip 1st stitch you joined into, ss into next 2 stitches (first loop made)
(ch 7, skip the stitch you have just made a ss into, skip next stitch, ss into next 2 stitches) four times (five loops now completed)
ch 7, skip the stitch you have just made a ss into, skip next stitch, ss into next stitch, ss into joining ss you made end of round 1 (six loops done!)
Round 3: (1 dc, ch 2, 3 tr, picot, 3 tr, ch 2, 1 dc) into each 7 chain loop around.
To finish: ss into 1st dc
Photo Tutorial
|
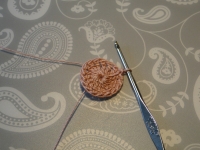
Round 1: ch 5, 17 trc (UK dtr) into 5th chain from hook, join with a ss to the first trc (UK dtr) We will meet that joining slip stitch again at the end, when we work into it with a finishing slip stitch! Put a stitch marker into that slip stitch if necessary so that it's easy to spot when you come to that bit. |
 |
~~~~~
|
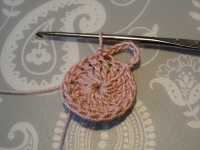
Round 2: ch 7, skip the stitch you joined into. Now ss into next two stitches. You now have your joining slip stitch in the first stitch, 7 chain, and a slip stitch in each of the next two stitches. |
 |
|
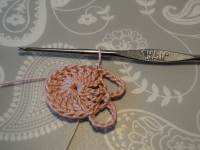
The next four loops are a tiny bit different than the first in that you completely skip a stitch. So: (ch 7, skip the stitch you have just made a slip stitch into, skip next stitch, ss into each of next two stitches) worked four times. I've worked the first of these loops in the photo. |
 |
|
For the last loop, ch 7, skip the stitch you just made a slip stitch into, skip next stitch, ss into the next stitch, then ss into the joining ss you made at the end of round 1. Got an extra empty stitch at the end of your round? Then I'm guessing you have only made one slip stitch after one of your 7 chains. I make this mistake quite often ;) |
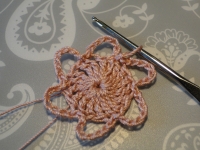 |
~~~~~
|
Round 3: We dive straight into the next round: 1 sc (UK dc), ch 2, 3 dc (UK tr) into first loop We will meet your first sc (UK dc) at the end of this round when we slip stitch into it. Pop a stitch marker into it now, if you like, so that you can see it later. |
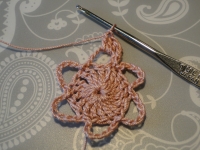 |
|
Now for the picot: ch 5 |
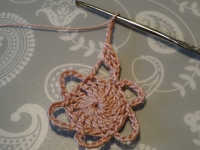 |
|
ss into 5th chain from hook. Your picot is ready! |
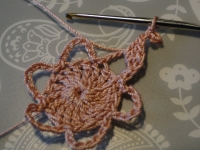 |
|
Then, working into the same loop: 3 dc (UK tr), ch 2, 1 sc (UK dc) That's your first loop filled in :) |
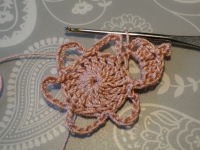 |
Continue to work the following into each loop around:
US: 1 sc, ch 2, 3 dc, picot, 3 dc, ch 2, 1 sc into each 7 chain loop.
UK: 1 dc, ch 2, 3 tr, picot, 3 tr, ch 2, 1 dc into each 7 chain loop.
~~~~~
|
To finish: Work a slip stitch into the first sc (UK dc) you made at the beginning of this round. |
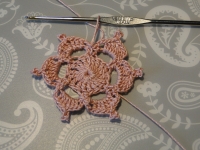 |
|
Weave your ends in carefully - I use the circle of stitches on the wrong side of the motif, weaving the ends around the center. |
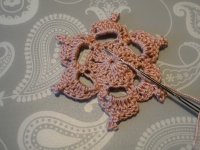 |
Why not join your Pictotifs to make a coaster, mat, little blanket, cushion cover - or anything else that takes your fancy?
Please don't rush off and make lots of complete motifs before checking out my tutorial!
My joining method joins "as you go" - you make only one complete motif, then join on the others as you work. You won't just be sewing them together, you see.
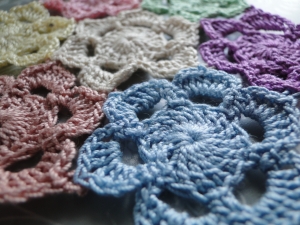
Above: my seven motif mini table mat!
- Home
- Flower Patterns
- Picotif
~~~~~
