Penny Farthing Appliqué
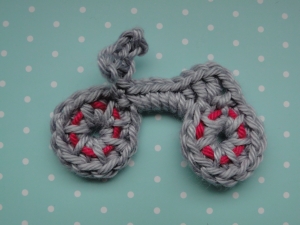
While crocheting my bike appliqué pattern, I had another one of those ideas... why not make a big wheel and a small wheel and make a penny farthing? Why not, indeed!
|
|
I've used a sports weight cotton - this one's Bonbons from Lion Brand - and a 3 mm hook. The penny farthing measures just under 2 inches/5 cm across the widest part.
UK terms are given in brackets as there really aren't that many stitches :)
Penny farthing pattern and pix!
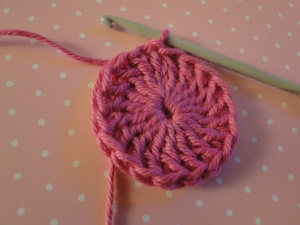
Front wheel: make a magic ring, ch 4.
Work 18 trc (UK dtr) into the ring. Join into the first trc (UK dtr) worked with a slip stitch:
~~~~~
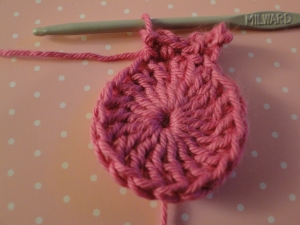
First handlebar: ch 4, ss into 4th chain from hook. Keep your eye on that 4th chain as you'll be slip stitching into it in just a moment!
Second handlebar: ch 3, ss into 3rd chain from hook. Now slip stitch into that bottom chain of the first handlebar!
Saddle: sc (UK dc) into next stitch. Ch 1.
Then into the next stitch, work 1 sc, 1 dc, 1sc (UK: 1 dc , 1 tr, 1 dc)
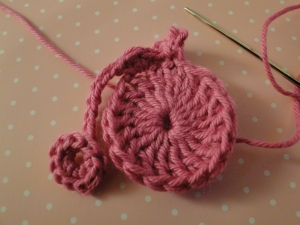
Here's where we are so far:
~~~~~
Frame and back wheel: ch 10. I worked these chain fairly tightly and neatly so as to keep their shape.
10 sc (UK dc) into 2nd chain from hook. Join into first sc (UK dc) worked with a ss.
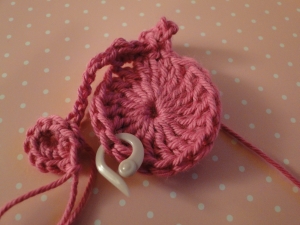
Before tying off, lay your penny farthing down with the right sides of the wheels facing you and the frame connecting them nice and straight.
Does everything look as it should?
- The two wheels should sit snugly next to each other as if they are both on the ground
- There should be a little gap between the frame and the big wheel
If you feel you need to go back and adjust the length of your chain, feel free to do so!
I've placed a stitch marker in the 5th stitch down from the saddle so that you can see where the little wheel will join the big wheel. We won't crochet or sew into that stitch, though, it's just to guide you:
~~~~~
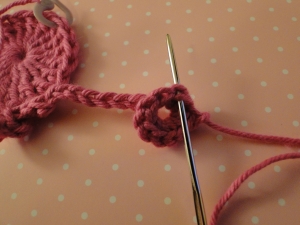
Tie off and weave the yarn end from the little wheel from front to back through the two top loops of the next stitch (which is the second stitch of the next row.)
~~~~~
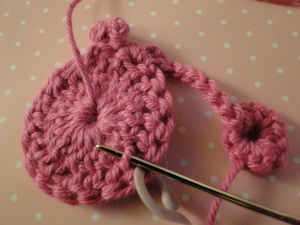
Turn the penny farthing over so that both wrong sides face you and the chain frame is straight. Weave your yarn into the back of the large wheel just below the top loops of the stitch that has the marker in it. Then weave into and around the center of the wheel so that the yarn end is nicely hidden.
~~~~~
Weave in the yarn end from your magic ring - and you're done!
~~~~~
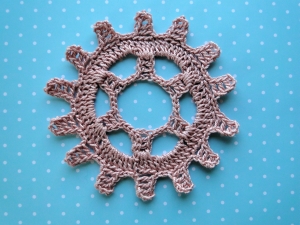
More Victorian crochet inspiration with my Steampunk Gear Crochet Pattern:
This one's crocheted in thread, but you can follow the step-by-step tutorial where I work the pattern in DK weight yarn.
Do stay in touch with me through Facebook :)
~~~~~
