Joining Crochet Squares with Slip Stitch
Using slip stitch to join crochet squares together is quick and easy.
The most important thing I learned from doing this is that you need to keep your tension relaxed.
So... do not work tight slip stitches!
If you do, your squares might not sit nicely once joined. I think I may have started joining these squares a little too tightly, and I had to unravel a bit and work it again.
OK - here's how I used slip stitch to join my squares from my 4 Petal Crochet Flower Square:
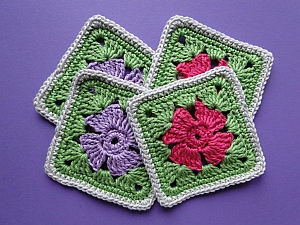 My squares :)
Joining your Squares
I'm going to join four squares. I'll join two together to make a rectangle. Then I'll take my next two and join those together in the same way. Then I'll join the two rectangles together.
Step 1: Lay your squares out so that you know which squares go where, then take two squares that you want to join, and put them right sides together.
Insert your hook through the outside loop of each stitch to be joined. I was muttering to myself "loop nearest me... loop farthest away from me..." as I worked to remember what I was doing:
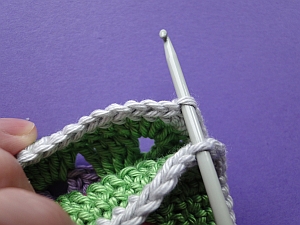 Insert hook through outside loop of each stitch to be joined
Each of my squares has a sc (UK dc) border, with four stitches in each corner. Two of the stitches belong to the edge I am not joining, and two belong to the edge I am joining! Your square may be different, so check which stitch you need to begin from.
For my square, I begin with the third and fourth corner stitches looking at the piece from the angle we see here.
Step 2: Yarn round hook, pull yarn through both loops to make your slip stitch. I haven't started with a slip knot - I will weave the tail end in securely at the end, so make sure you leave enough yarn to do that:
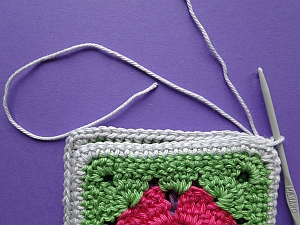 1st ss completed
And off we go, putting our hook through the outside loops of each stitch, and slip-stitching our way along:
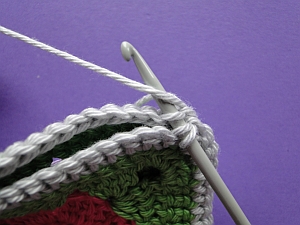 The next ss...
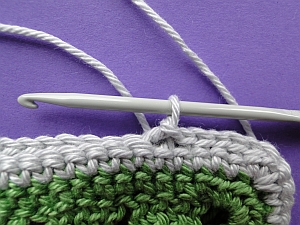 ...and more stitches - keep your tension relaxed!
I finish my last stitch in the second of my 4 sc (UK dc) of the corner. Then tie off.
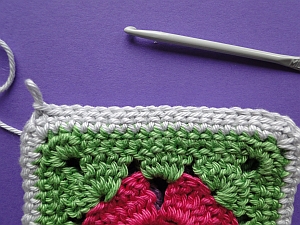 Finished join
Then I take my next two squares and do exactly the same. And here we have two little "strips" - the rectangles - of two squares each, ready to be joined along the middle:
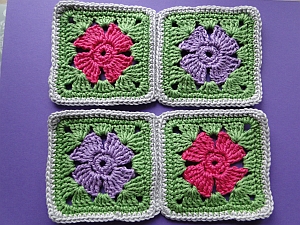 Two strips ready for joining
Step 3: Now I put my two strips right side together, and begin exactly as I did before, working through the two outside loops of each stitch
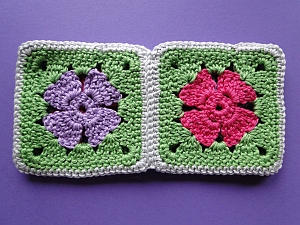 Right sides together and...
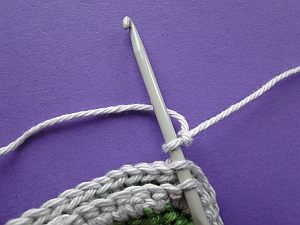 ...we make our first slip stitch join. And I'm using a slip knot at the start here, just to see if it works out ok! (It did :))
For my corner, I simply joined the two remaining stitches of my corner for the first squares, and then the two remaining corner stitches of the second squares. That is, I simply joined each stitch exactly as we have done so far without doing anything fancy ;)
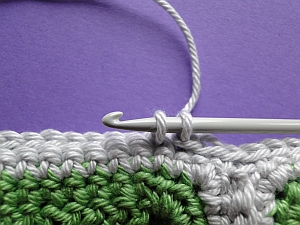 Working the join
OK - the center seam is done, and here is the result:
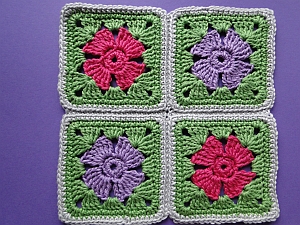 All four squares joined!
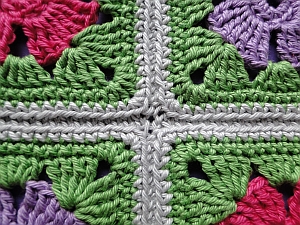 Detail of center join on right side of work
Edging your Squares
Now, I think we need an edging to tidy everything up, don't you?
If you have made different squares, you may have to adapt this edging to suit your square.
Step 1: We're back on the right side of the piece now!
So: join into the 3rd stitch in any corner, ch 1, sc (UK dc) in same stitch.
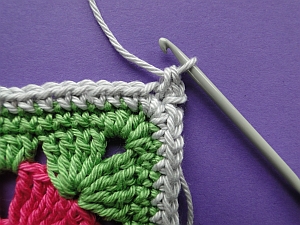 Beginning at a corner
Step 2: (ch 3, skip next two stitches, sc (UK dc) into next stitch) 6 times:
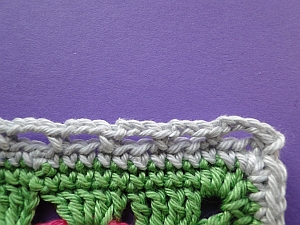 Chain loop edging
Now to deal with that middle seam: ch 3, skip the two corner stitches, dc (UK tr) into top of seam:
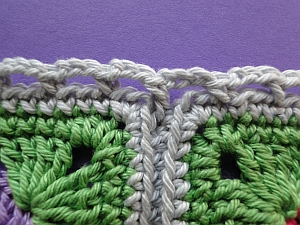 Work a longer stitch into the middle ss seam
(Ch 3, skip next two stitches, sc (UK dc) into next stitch) 7 times.
Corner: ch 3, sc (UK dc) into next stitch.
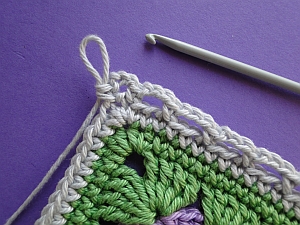 3 ch corner loop
Repeat Step 2 three times, omitting the last sc (UK dc) - instead, work a ss into your 1st sc (UK dc) to join after working your 3 ch.
And here they are - my four squares joined with slip stitches, edged with chain loops:
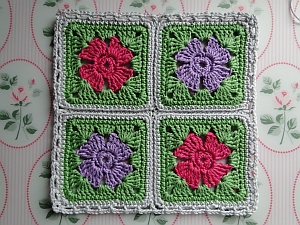 The end result :)
~~~~~
- Home
- Crochet Squares
- Joining Crochet Squares