How to join the Pictotif motifs
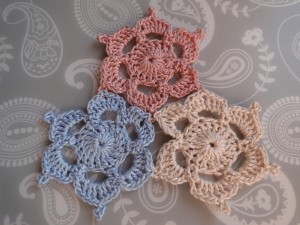
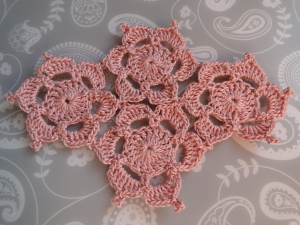
Joined together, the Picotif motifs look ever so pretty, whether worked in one color - or more!
 |
 |
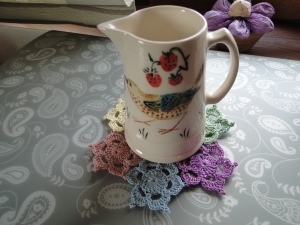 |
These motifs were made with a cotton thread weight yarn and a 1.75 mm hook, and I haven't blocked them yet. Use a heavier weight yarn and a bigger hook to make larger motifs.
Shall we learn how to join three motifs together? That way, you'll grasp the basic idea and then you can whizz off and crochet!
How to join three motifs together.
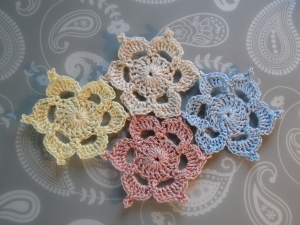
I'm going to join three motifs of different colors together so that you can clearly see the process.
It's really not difficult - simply follow the steps and you'll see exactly what to do.
|
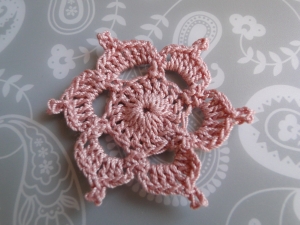
Step 1: First of all, make a Picotif motif! Weave in your ends. |
 |
|
Step 2: Make another motif, leaving two loops unworked in Round 3. |
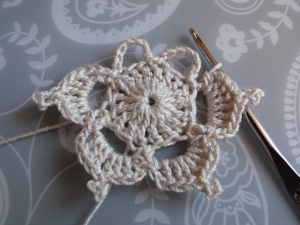 |
|
Step 3: Now we'll join the two empty loops onto two of the picots of the completed motif. Let's start with the first join. Work 1 sc (UK dc), 2 ch, 3 dc (UK tr) into the next 7 chain loop just as you have done up to now. No picot is worked here! |
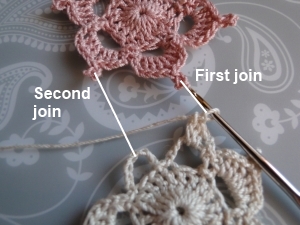 |
|
Step 4: Place the two motifs wrong sides together. The right side of the motif you're working on faces you, as usual. The right side of the completed motif is face down on my table. Most important, here: your yarn runs from your hook in front of the picot you're joining to. |
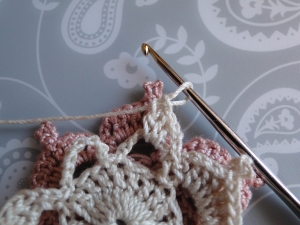 |
|
Step 5: OK - wrong sides together - check! Yarn running in front of picot - check! Now insert hook through the picot from the back to the front of the picot as it faces you. In other words, wiggle your hook round to the back of the picot, and pop it through the picot so that the hook is coming towards you. This is the only fiddly bit, I promise ;) |
 |
|
Step 6: Now work a slip stitch. Phew! The two motifs are now joined! |
 |
|
Step 7: Now we leave the picot and the first motif behind, and return to work the rest of the stitches into our 7 chain loop, so: 3 dc (UK tr), 2 ch, 1 sc (UK dc) into the loop. Your two motifs should both be happily joined together, without any twisting. |
 |
|
Step 8: Now for the second join! Work 1 sc (UK dc), 2 ch, 3 dc (UK tr) into the next 7 chain loop. Then join into the picot you see marked on the photo - here, I'm joining white to pink. Just as in Steps 4, 5, and 6, you
|
 |
|
Step 9: Then go back to your loop to finish it off: 3 dc (UK tr), 2 ch, 1 sc (UK dc) into the loop Then finish: ss into first sc (UK dc) of that round. And your first two joins are done :) |
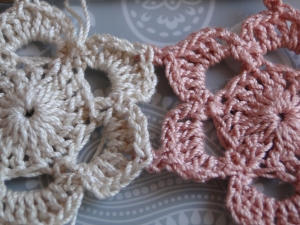 |
|
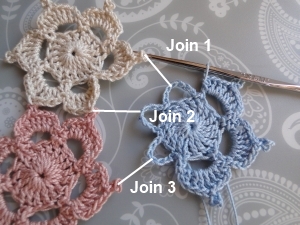
Step 10: Work a third motif, leaving three loops unworked on Round 3. The three white lines show where we're aiming to join the three loops to. The first join goes into the white picot at the top. The second join works into the pink picot that already has a slip stitch in it from the white motif. The third join works into the pink picot. |
 |
|
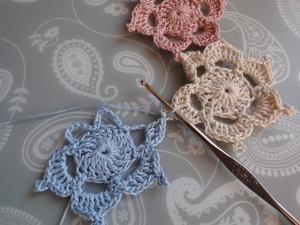
Step 11: Our 1st join coming up! We work 1 sc (UK dc), 2 ch, 3 dc (UK tr) into the next 7 chain loop of our blue motif. Then... ...remember the drill?
|
 |
|
I've just worked the slip stitch, and this is how things look. |
 |
|
Step 12: 3 dc (UK tr), 2 ch, 1 sc (UK dc) into the loop to finish it off. Great! |
 |
|
Step 13: Our 2nd join. Work 1 sc (UK dc), 2 ch, 3 dc (UK tr) into the next 7 chain loop. Then join into the middle of the pink picot, just as you did with your second motif, which is my white one. |
 |
|
Here's my join - wrong sides together, yarn in front of that pink picot, hook through from back to front - and I'm ready to make a slip stitch. |
 |
|
My slip stitch is done! Break open the champagne! Oh - not yet... We still have to finish off our blue loop: 3 dc (UK tr), ch 2, 1 sc (Uk dc) into the rest of your loop. |
 |
|
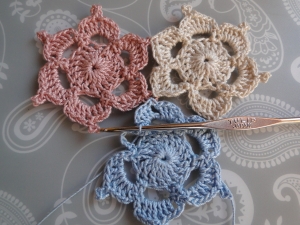
Step 14: The third join... and my hook points to that pink picot I'm aiming to work into. |
 |
|
As before, work 1 sc (UK dc), 2 ch, 3 dc (UK tr) into your last 7 chain loop.
|
 |
|
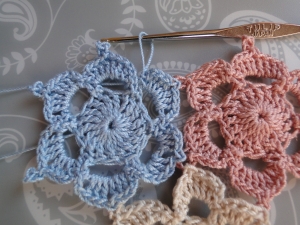
Step 17: 3 dc (UK tr), 2 ch, 1 sc (UK dc) into the loop to complete it. And all that's left to do is slip stitch into the first sc (UK dc) of the round, tie off, and weave in any ends. |
 |
|
Well done! Ve-e-e-ry pretty! Go on - you can't resist, can you? You want to add some more motifs! I decided to make the white motif the central one, and add some more motifs around it. |
 |
 I added a yellow motif, joining 3 times. |
 I added a purple motif, joining 3 times. |
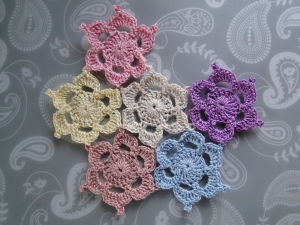 Then I added a pink motif, joining 3 times. |
 Then I added the last motif, joining 4 times - which means you work into only two loops with your stitches and picots, leaving four empty before starting your joining loops as I call them. |
And here's my completed piece:
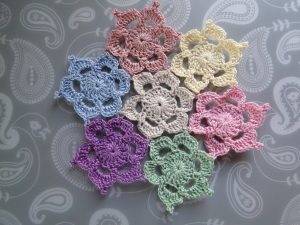
I hope you have fun with this, I certainly did! Once you get going, the pattern is easy to memorize, and you can put together something that would make a fantastic gift or a lovely little addition to your desk :)
~~~~~
- Home
- Flower Patterns
- Joining Picotifs!