Easy Crochet Baby Blanket
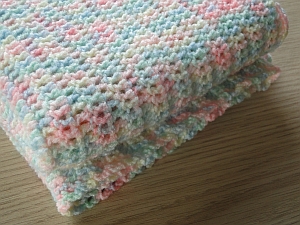
I made my Easy Crochet Baby Blanket from some variegated baby yarn that I fell in love with!
|
|
The body of the blanket is worked in dc (UK tr.)
I used fingering weight yarn and a 3.00 mm hook.
My finished dimensions are: width 21"/53 cm; length 27"/68 cm
You can use whatever yarn/hook combo you like, of course :)
There's a little edging worked around it, too! Plus, you can adjust the size of this blankie and make it as big as you want.
Here's that yarn...
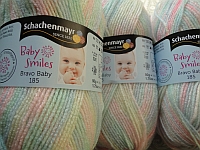 5 balls of Baby Smiles Bravo Baby 185 by Schachenmayr
... and having bought it, I had to dream up something to crochet with it! I didn't want it to be something difficult, I just wanted to sit and work my rows and watch the magic happen ;)
So that's how this blanket was born, and I'm very pleased with how it turned out.
Easy Baby Blanket Pattern
Stitches:
dc = UK tr
sc = UK dc (for the edging.)
Pattern if you are adjusting the size of your blanket
If you're using a different yarn and hook size, you can follow the adjustment instructions below, too, to make the size of blanket you want:
Determine the width you want; crochet an odd number of chain for that width.
Then ch 3 (your turning chain, which counts as a stitch and will keep your stitch count even for each row.)
Dc (UK tr) into the 4th ch from hook. Dc (UK tr) along the row into each of your chains.
You should now have a row with an even number of stitches.
Then *ch 3 (counts as a stitch); turn; skip 1st stitch, dc (UK tr) into each stitch along.*
Repeat from * to * for as many rows as you want - but keep the row count even, too.
This way, my edging below will also work for you - and the edging will add a little extra width/length to your piece, remember, but not much.
When you get to the end of your last row, do not tie off if you want to add the edging - simply continue using the edging instructions below :)
My pattern
The ch 3 turn at the end of each row counts as 1 stitch.
Row 1: Work 114 chain (111 ch plus 3 chain turn.)
Dc into 4th ch from hook.
Dc into each ch along (112 stitches worked.)
Rows 2 - 86: ch 3 (counts as a stitch); turn.
Skip 1st stitch, dc into each stitch along. (112 stitches worked.)
Don't tie off at this point - just continue with the edging below!
The Edging
The edging is a 3 chain loop (4 at the start!) - then we skip a stitch and sc into the next stitch.
In the corners, we will work two 3 ch loops.
So, let's start at the end of your last row:
Top Edge: Ch 4, turn.
You should now be ready to work around the edge with the right side of the blanket facing you.
Place a stitch marker under the top 2 loops of your 1st stitch as we will join in here at the end:
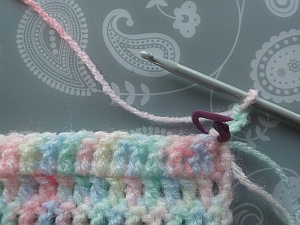 Beginning the top edging
Sc into next stitch.
(ch 3, skip next stitch, sc into next stitch) 54 times.
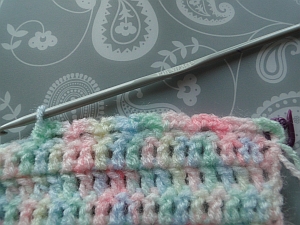 Working along the top edge
(For those of you working a blanket with more stitches than my pattern, work along the top edge and stop before working into the last stitch, as we will work into the corner instead.)
Ch 3, skip next stitch, sc into the corner space.
Ch 3, sc into corner space again:
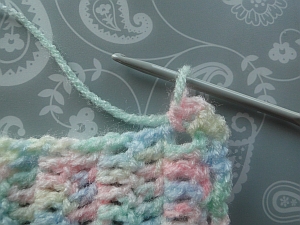 The first corner
1st side edge: Ch 3, sc into next space at the side of the next row.
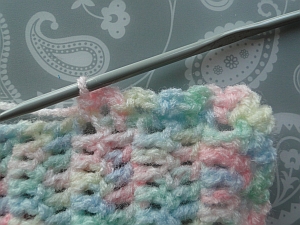 Stitches along first side edge
Ch 3, sc into next space; repeat along that edge until you reach the corner space where you will ch 3, sc into that space, ch 3, sc into that space again:
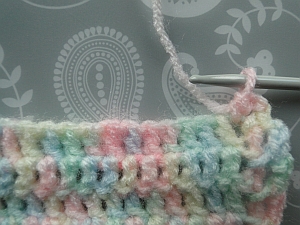 The second corner
Bottom edge: Now we crochet into the spaces between the stitches of the 1st row.
Ch 3, skip next space between your stitches (ie the space after your corner); sc into next space.
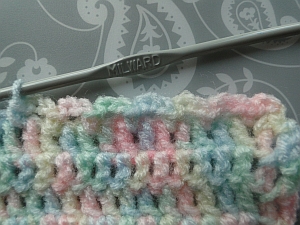 Working along the bottom edge
Ch 3, skip next space, sc into next space; repeat along that edge until you reach the next corner.
Ch 3, sc into corner space; ch 3, sc into same space.
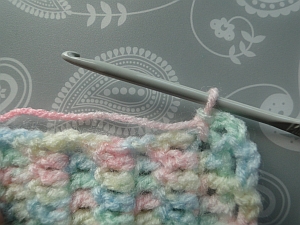 The third corner, turning to work the last side
2nd side edge: ch 3, sc into next space at edge of next row.
Ch 3, sc into next space; repeat along the edge.
When you reach the last space, ch 3; instead of working a sc into that space, ss into the top of the stitch we stitch marked (your first stitch of the last row of the blanket.) It's sitting under the first loop we made:
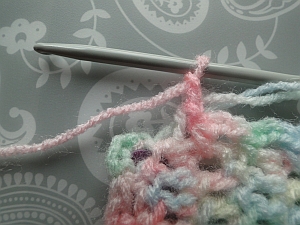 Ready to work the last ss
Tie off and weave in all ends securely!
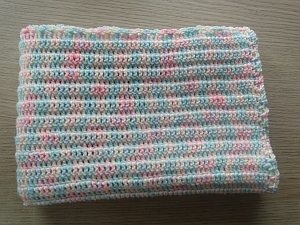 The finished baby blankie!
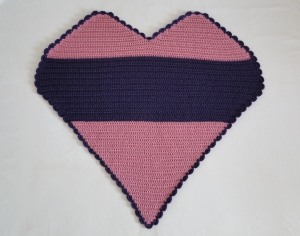
Do check out my Heart Baby Blanket, too!
Also crocheted in dc (UK tr), with increases and decreases and a fab shell edging! Here it is:
- Home
- Crochet Blankets
- Easy Baby Blanket
