Crochet a Solomon's Knot Square
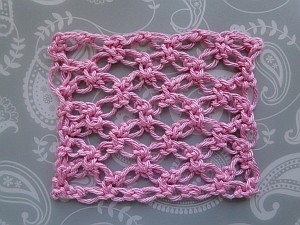
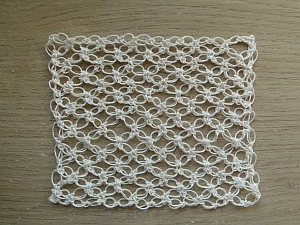
The Solomon's Knot Square is a pretty piece to crochet - and works up nice and fast!
You don't have to aim for a perfect square - rectangles are allowed ;)
I have added a couple of stitches here and there to shape the corners - and your very first Solomon's Knot will be what I call "mini" size to get the look just right!
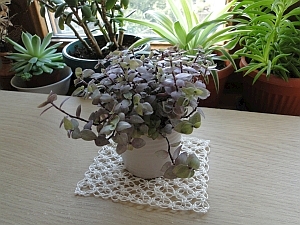
Make the square or rectangle as big as you want. You could use it for a lacy scarf, a table runner or just a little mat like I have done here:
|
|
How to Crochet your Solomon's Knot Square
Stitches:
SK = Solomon's Knot/s - if you haven't learned this stitch yet, see my Solomon's Knot tutorial :)
My SKs here are worked by pulling up a loop of a little less than half an inch - about 1 cm. Yours may be bigger, of course.
mini SK = a smaller SK
There is only one mini SK - the first SK of the pattern. I work a normal sized chain with the sc (UK dc) worked into the back loop. If your SKs are bigger than mine, work a slightly bigger mini SK!
Basically, you don't want the bottom-left corner of your piece sticking out, so I've reduced the length of the beginning 2 SK by working the first one smaller.
sc = UK dc
sc knot = the sc (UK dc) that you worked into the back of a loop for a SK!
top middle stitch = my name for the sc knot that sits between the two higher-sitting SK loops from row 3 onwards :) It's all shown in the photo tutorial below.
It might look a bit fiddly but I think the pattern's really extremely easy - the bulk of it is simply SKs worked in the regular SK rows with all the same size stitches.
OK - ready, steady, and let's go!
~~~~~
Row 1: ch 2, 1 sc into 2nd chain from hook. This is your 1st corner! I recommend stitch marking that sc so you can see exactly where to work into at the end of the next row.
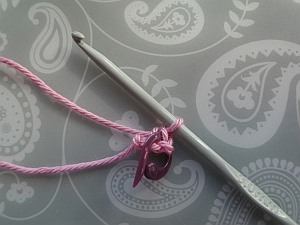 sc worked into 2nd ch from hook and stitch marked
Work 1 mini SK; then work an even number of SK.
I worked one mini then six normal-sized SK - so seven in all for my sampler here. Simply work the length you need for your project.
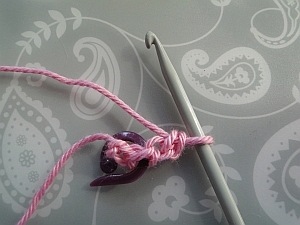 My first - and last - mini SK!
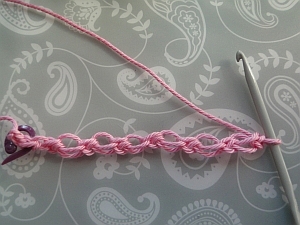 The rest of the 1st row
Ch 1, turn; 1 sc into sc knot next to hook. This is your 2nd corner!
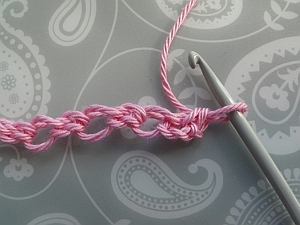 sc into sc next to hook (the sc knot from the last SK)
~~~~~
Row 2: 2 SK, skip the 2 SK just worked, skip the corner, work 1 sc into the next sc knot which sits between two loops:
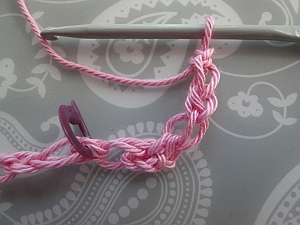 Stitch marker shows you where to work after the turn
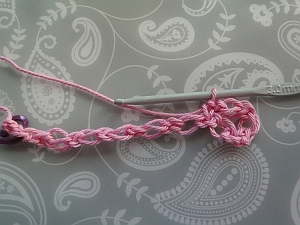 Completed stitch after the turn
(2 SK, skip next sc knot, sc next) along your row, working your last sc into the
1st sc worked for the pattern - your first corner stitch in Row 1. Which may have a stitch marker in it!
2 SK, turn.
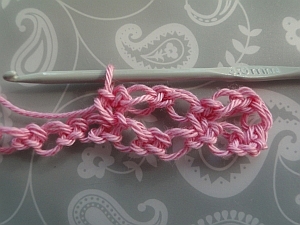 Working along the row, skipping a sc knot between two SK
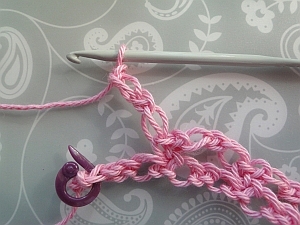 Final stitch worked into beginning sc at start of pattern - stitch marked
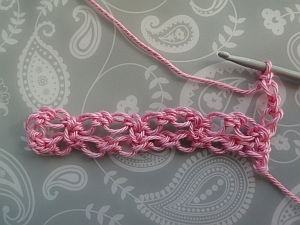 2 SK and ... turn!
~~~~~
Row 3: sc into the next "top middle" stitch on row - the higher-sitting sc knot that sits between two loops of SK on your previous row.
(2 SK; sc into next top middle stitch) along your row.
The last top middle stitch is at the end corner of your row, but still between two loops in fact ;)
2 SK, turn.
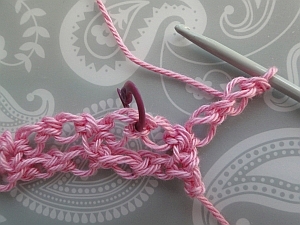 Stitch marker shows "top middle" stitch where we work after the turn
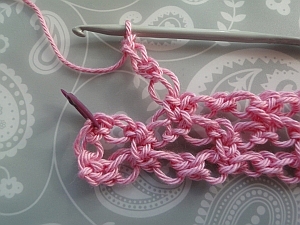 The last "top middle" stitch is stitch marked - it's at the end although it is in the middle :)
~~~~~
Repeat Row 3 for the pattern and get set for the last row!
Work an odd number of total rows until you have almost created your square, replacing the 2 SK turn at the end of your last odd-numbered row with:
1 SK with TWO sc into the back loop - your 3rd corner; 1 SK, turn.
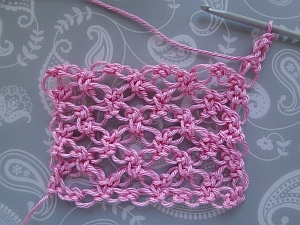 SK with 2 sc in back loop; one normal SK - then turn into last row
~~~~~
Last Row: OK, so this row should be an even-numbered row!
Sc into next top middle stitch.
(2 SK; sc into top middle stitch) along the row until you get to your last 2 SK where you will work:
1 SK; then 1 SK with 2 sc into the back loop, to shape the 4th corner.
Join with a ss into the last top middle stitch. Tie off - and if you're making a scarf or bigger piece, leave a nice long tail end.
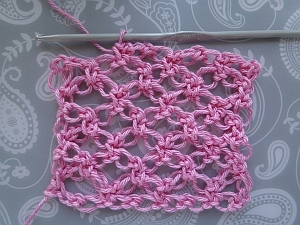 Just before working the last 2 SK
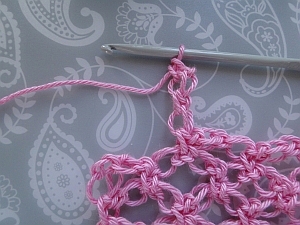 1 SK; another SK with two sc in back loop
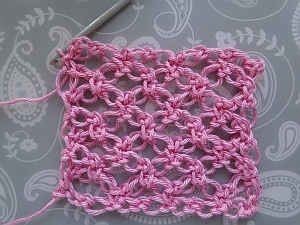 Join with a slip stitch in last stitch
Weaving in :)
it's always a bit of a challenge weaving in the ends with Solomon's Knots because there's almost nowhere to weave those ends into! That's why I began and ended my Solomon's Knot Scarf with borders.
For our Solomon's Knot Square, I sewed my ends into the corners - carefully working through the stitches around the corner, up and down two or three times. Then snipped off the remaining yarn. I figure this will be fine for a mat as it won't be worn and moved about very much.
If you are making a scarf, then I think it would be best to thread the tail ends along further and then back for a more solid weave-in.
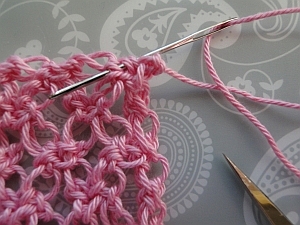 Weaving in the tail end
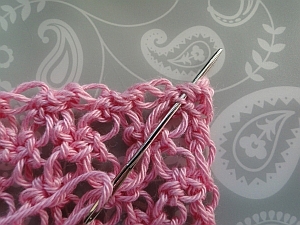 Back and forth a few times before snipping the yarn
~~~~~
- Home
- Crochet Squares
- Solomon's Knot Square
