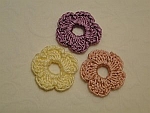
The Crochet "Magic Ring"
|
|
Magic ring, magic loop, adjustable ring - or even the "finger wrap" method... take your pick :)
Not long ago, if I saw a pattern that said "start with a magic ring" I would just pass that pattern by!
But since I made an effort to learn how to crochet the magic ring (and I think only very little effort is needed) I have used this technique many times with good effect.
Three very useful resources:
1. I think this is an excellent video by Sedruola on how to use the "finger wrap" technique. 'Nuff said, take a look:
2. There are lots of instructions at Planet June for left and right handers - with videos as well as photo tutorials.
3. Interweave offer a free instruction booklet in PDF format all about making the magic ring. Clear steps and pix.
You
have to enter your email or be registered with the site to get the
freebie - and it's well worth registering as they have lots of very good
free PDFs and patterns on their site.
Plus there's a how-to for the "double magic ring" and some patterns for you to practice.
A few tips :)
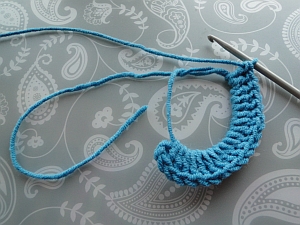
When working the ring:
- Leave a long enough tail at the beginning. If your starting tail is too short, the ring may fall apart if you have a larger number of stitches to work into the ring.
- Check that all your stitches are sitting neatly around the ring before you pull it tight.
- Double-check your stitch count if there are 18 or 24 stitches or so, as if you've missed one, you'll have to pull the ring apart to add it later :)
~~~~~
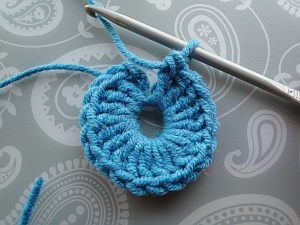
When pulling the ring tight:
- Pull the tail end gently to bring the two sides of the ring together.
- Check everything looks neat and tidy!
~~~~~
The last bit:
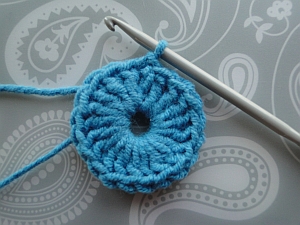
- Join with your ss (or whatever joining stitch is used in your pattern.)
- Then hold the middle of your flower and pull the tail end tight.
- For smaller pieces, you can hold the center of the flower between your thumb and index finger of one hand, and pull the tail end with your other. This helps keep the neat shape in the middle of the piece.
Tip: sometimes I get a neater join if I miss the first 3 ch (as in the example below, where I started with ch 3, then worked dc - UK tr - stitches) and join into the first dc/UK tr.
So here, instead of ch 3 which counts as a stitch and 17 stitches into the ring, making 18 stitches total, I chained 3 and worked 18 stitches into the ring; then I skipped the 3 ch and joined into my first dc/UK tr:
~~~~~
Here are a few other things I have noticed about working with the magic ring:
Be careful when pulling the ring shut
Some yarns will break if you tug them too enthusiastically!
You may also find that pulling the tail end too quickly ruins the shape of your circle. So pull slowly and gently.
~~~~~
Some yarns can be difficult to use for a magic ring
I've found this with some textured or metallic yarns. They can tend to pull unevenly when closing the ring, or get completely stuck so that you can't close the hole!
The trick here is to test the start of your project a few times to see how you and your yarn cope with the ring.
~~~~~
Weave your starting tail in well.
It's not happened to me - yet - but I have read that if you don't weave in that first end particularly securely, the ring can come apart if the item is heavily used or washed. Ooops!
So - how should you weave in the starting tail? Well, I weave it round the center, going under a few stitches, coming up again for air, then turning back, missing a stitch and weaving back in the opposite direction for a bit. Then I might even go back again, missing a stitch and weaving it back along from where I just came.
~~~~~
I hope you found these tips on crocheting your magic ring useful!
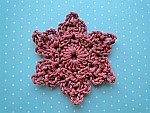
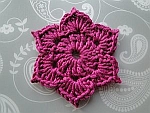
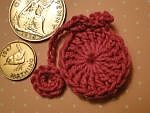
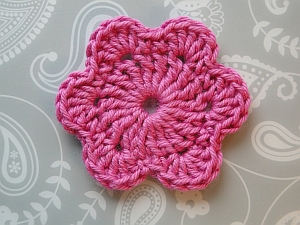
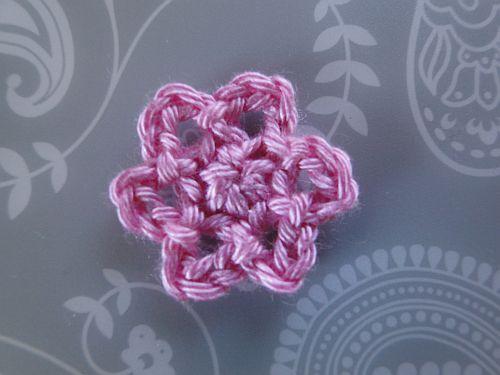
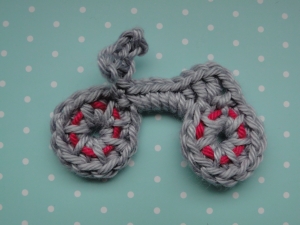
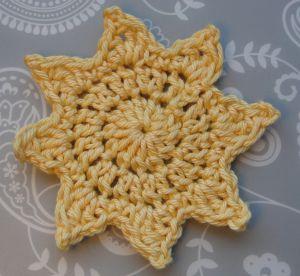
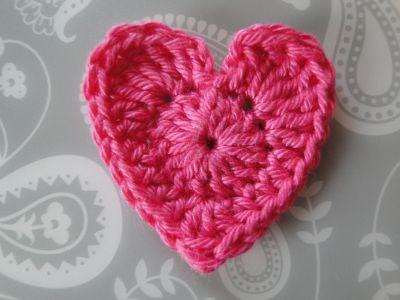
There are various patterns on this site that use this oh-so-useful technique, and in the pix below you can see how neat the center can look; depending on the stitch or the number of stitches you work into your ring, you can close it right up or leave a neat circle space:
~~~~~
- Home
- Tips & Techniques
- Crochet Magic Ring
