How to Crochet Chain Stitch
How to crochet chain stitch, step by little step! It's temendously useful: create a base for your next row, or make a decoration for your home, a handle for a small evening bag, or even a piece of jewelry!
Use any kind of yarn you like, with a suitable hook.
How to Begin with a Slip Knot
1. Make a loop. The yarn tail is on the left:
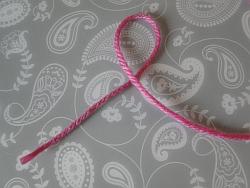
2. Keeping the tail of the yarn to the left, pass the yarn under the loop...
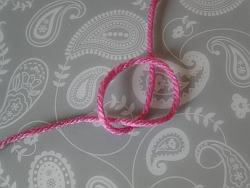
3. Then catch that bit of yarn underneath with your hook:
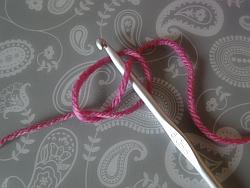
4. Pull the yarn up gently so that you have a loop on your hook:
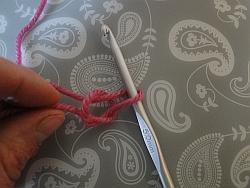
5. Carefully tighten the knot, leaving a little "give" - you don't want it too tight:
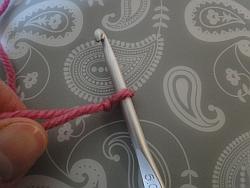
Tip: Some projects will want a much longer yarn tail. You might want to sew on a button using the tail end - or sew up a seam for a purse. You certainly need to leave yourself enough yarn to sew in the end neatly.
Now Let's Crochet Chain Stitch!
1. Yarn round hook - don't pull too tight!
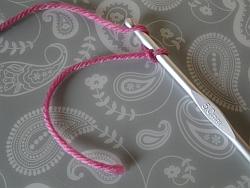
2. Ease your hook and yarn down through the first loop.
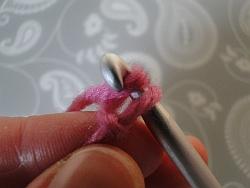
3. There! Your first chain! And the loop on your hook is ready for you to repeat steps 1 and 2 until...
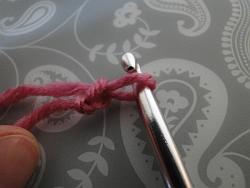
4. ...you have a length of chain :)
Try and keep your stitches the same size, nice and even. You don't want them too tight, nor too loose.
Practise crocheting chain stitch until you have a good feel for what you're doing.
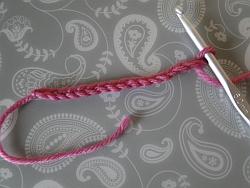
Tying Off
You could keep chaining forever ;) But no, we'll finish the chain like this:
1. Stop chaining. Phew!
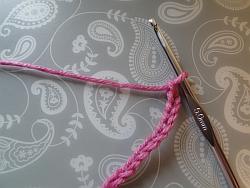
2. Cut the yarn:
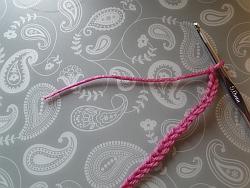
3. Make another chain, pulling the yarn through...
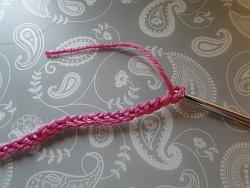
4. ...and keep pulling...
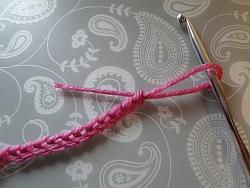
5. ...until all of the tail is through the loop:
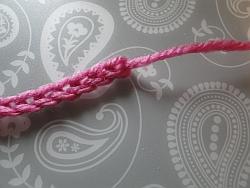
6. Hold the tail and pull gently to tighten that last knot and end your chain:
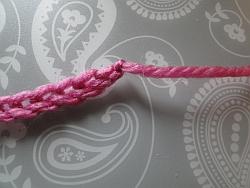
Use Double Strands for Sturdier Pieces
Why not crochet chain stitch using two strands of yarn? Cut two lengths of the same yarn to give this a try, not too long for this exercise, 14 inches or 35cm should be enough.
You'll need a larger hook for this - I used one size larger than in the single strand chain above. Whatever feels comfortable.
Put the two strands together, and make your slip knot again:
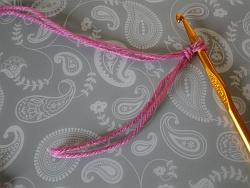
You can tell you're going to get a thicker chain, can't you?
Don't worry about the strands winding round each other a tiny bit for now.
Make some chains and you'll end up with something like this:
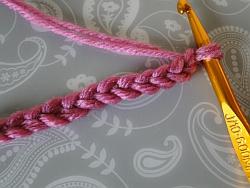
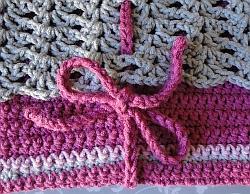
This kind of chain is very useful. I used one just like this as a cord which wrapped around a Kindle cozy I made. The cozy was a bag with a flap, and the lady I made it for didn't want any buttons or zips. So I wove the cord around and tied it in a bow:
Experiment with Different Yarns and Colors
A worsted weight yarn similar to the yarn above will chain up quite differently to a lighter yarn such as a thread weight.
Look what I made last summer using some beads and a simple chain stitch with a thread yarn:
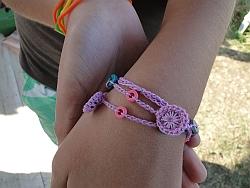
Mmm, I can't wait to make some more of those and show you how I did them!
Meanwhile, why not get working on this very easy chain stitch bracelet pattern?
Or keep practising your chains, with different kinds of yarns and hook sizes:
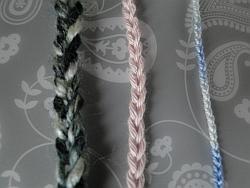
And once you've got the hang of that, we can start a new row and work into those chains with all kinds of stitches!
~~~~~