Crochet a Bead Bracelet
|
|
Let's crochet a bead bracelet using chain stitch. I'll show you how to do it with one of my favorite yarns: mercerized cotton.
I love this kind of cotton. It's so smooth and silky, quite firm, too. It looks so stylish and gives your crochet a professional looking finish, even if this is your first time using it!
You can use whatever yarn, hook, or selection of beads you want, but you need to check that your hook will fit through the beads you are working with.
The cotton I'm using is lace weight - Alize Miss. It's a little heavier than thread weight. You may not have worked with such a fine yarn before, but I think you'll relish the experience!
My hook is 2.0 mm - the closest size I can find for US hooks is a 2.25 mm hook which is size B1.
So - you will need:
- Some beads.
- A hook that will fit through the bead holes.
- Yarn that works with the hook and that will go through the beads - at the end we will thread the two tail ends through a bead, so you need a bead with a hole big enough to do that!
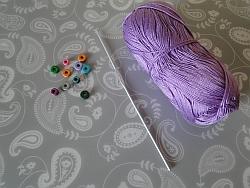
~~~~~
Start with a slip knot. Leave a long tail of about six inches, as this makes things easier to work with at the end.
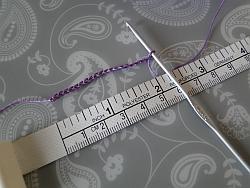
1. Make a 2 inch or 5 cm chain. It can be a bit longer if you want to put more beads on at the end:
2. Thread your hook through the first bead:
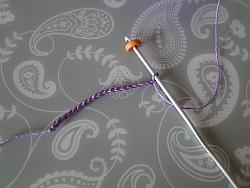
3. Push the bead down to just above the loop on your hook.
Don't pull anything too tight:
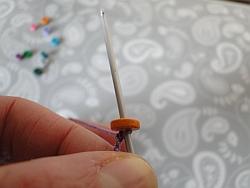
4. Yarn round hook.
Pull the yarn down through the bead and the stitch on your hook.
This can be a little tricky at first, but take your time:
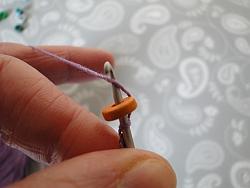
5. There! Now you have a chain worked through the bead.
Keep your yarn a little looser here as we're going to make a chain on the other side of the bead now:
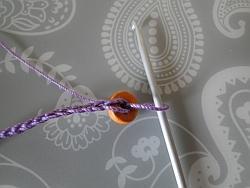
6. So - yarn round hook.
Hold the bead to keep things steady:
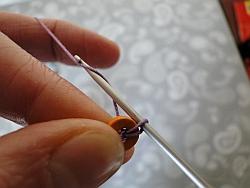
7. Make another chain.
Now you have one chain on one side of the bead, and another on the other side:
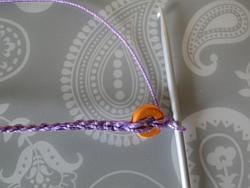
8. Now you can make a few chain. I crocheted about seven chain.
Then repeat steps 2 to 8 to add another bead.
I added six beads altogether, each separated by 7 chain.
You can add more, of course!
9. Then, once the chain and beads go round my wrist, I stop for a mo:
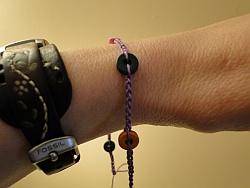
10. Check the fit.
Remember we crocheted two inches of chain at the beginning?
After your last bead, chain another two inches:
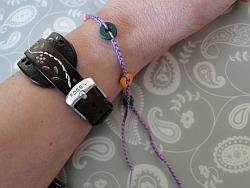
11. End your chain. Don't cut the tail too short!
Our beads are threaded and we have plain length of chain at each end plus the tails.
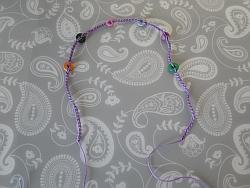
12. Thread the two tails through a bead:
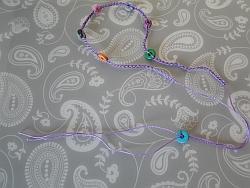
13. Push the bead up the two strands of chain...
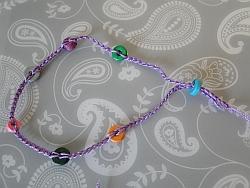
14. ... until it reaches the bracelet beads:
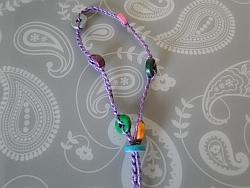
15. Tie a little knot at the bottom of the two chain ends.
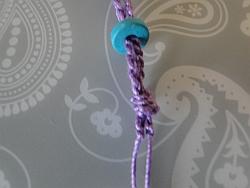
16. Sew the tails up through the knot to weave them in.
Then snip off those long tails!
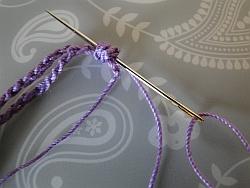
17. Now you should have a nice neat end:
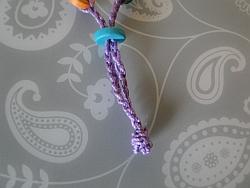
18. Move the bead down and put your bracelet on.
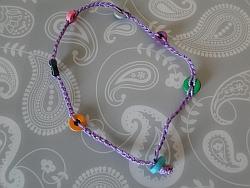
19. Then tighten the bracelet by moving the bead up the two chain ends:
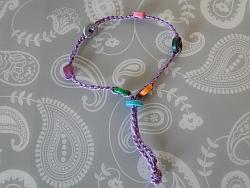
20. We're done!
Once you get used to this, you can whip one up in a jiffy!
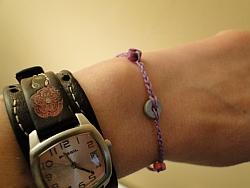
For a very easy bracelet without beads, try the chain stitch bracelet.
Different effects produce a unique bracelet every time!
Add more beads to the bottom. You could make a longer starting chain and ending chain for this:
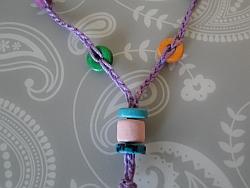
Or don't make any chain between beads - just keep threading 'em on! Isn't this pretty? You need more beads for this though:
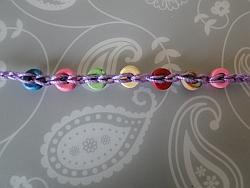
Here I put two beads on at once. So you thread your hook through two beads, yarn round hook, pull through both beads and the stitch on your hook, then continue:
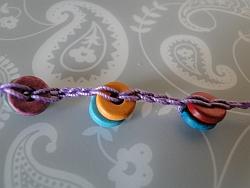
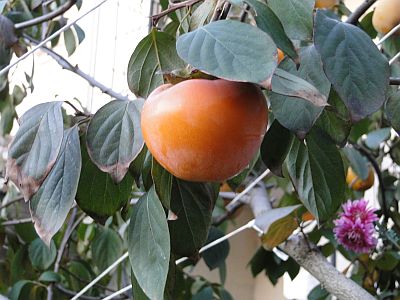
You can use lots of different color beads - or just use one. How about green and orange inspired by this Persimmon tree?
~~~~~
- Home
- Crochet Jewelry
- Bead Bracelet
