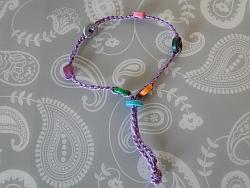
Crochet a Chain Stitch Bracelet
Here's how to make a neat bracelet, just by doing some simple crochet chains.
You can make these for yourself. But I love making them for other people, particularly kids and teens - they just can't believe how quickly you can whip one of these up!
|
|
If I'm going somewhere for a few hours and there's kids around, I'll take my crochet and sit for a while putting together a few bracelets. Nobody seems to mind! And I think it's great for our youngsters to see something created before their eyes.
What yarn do you need?
Quite honestly, any yarn will do for this. I'm going to use a lovely pastel pink 100% organic cotton for this. It's a sport weight yarn.
Ready?
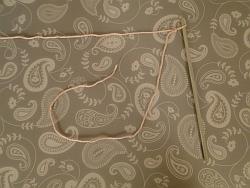
1. Start with a slip knot as described on my page about basic crochet chain stitch.
Leave a nice long tail - about 10 inches or 25 cm.
~~~~~
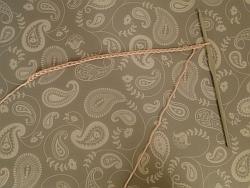
2. Make a chain that will fit around the wrist.
Keep your stitches evenly sized, not too loose, but certainly not too tight!
~~~~~
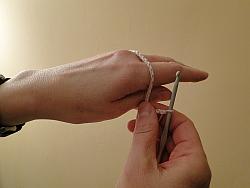
3. Try the bracelet around the wrist, holding the two ends together.
The chain needs to be longer than the wrist size, because...
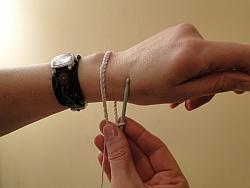
4. ...you need to check that the bracelet will slip off the hand, so that you can take it off.
Keep holding the two ends together as you test the fit.
~~~~~
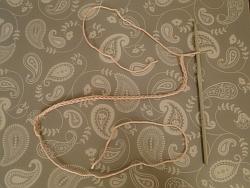
5. Now cut the yarn. Leave another nice long tail :)
~~~~~
6. Pull the loop on your hook through that last chain....
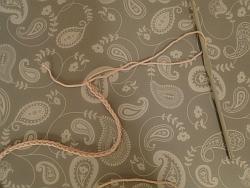
7. ...until it's all the way out.
Pull the tail ends gently to tighten:
~~~~~
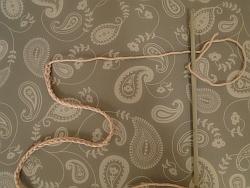
8. Here's what we end up with. A chain with two tails... sounds like the name of a book ;)
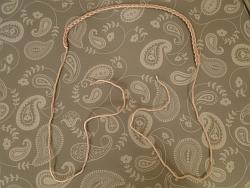
~~~~~
Two ways to finish your chain bracelet:
1 - Mega quick and easy: knot and snip!
1. Make a half knot with the two ends, like the first part of a shoelace knot. Then do another half knot.
Pull the knots gently together.
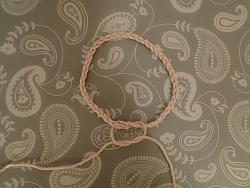
~~~~~
2. Then you can cut the two ends of the tail.
Leave a little bit of the tail. You don't want the knot to be pulled apart when you take the bracelet off:
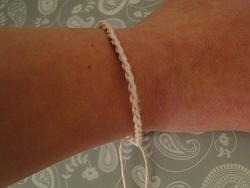
~~~~~
2 - How to add a cool corded style finish.
OK - we ended up with our finished chain in step 8 above - and what we're going to do is take our hook and join the first stitch on the left with the last stitch on the right.
I'll start with the last stitch on the right.
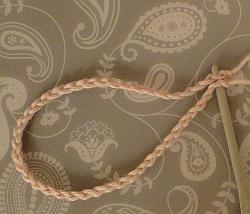
1. Hook into the last stitch on the right.
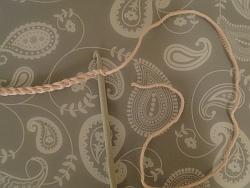
~~~~~
2. Then bring the other end of the bracelet round and insert the hook into the end stitch that was on the left:
~~~~~
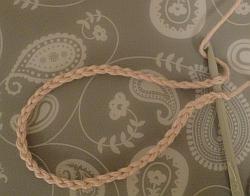
3. Take the tail end of the yarn that belongs to the end stitch you've just hooked into.
It's the yarn tail that belongs to the stitch at the top of your hook.
Wrap it around the hook:
~~~~~
4. Pull the yarn through both stitches:
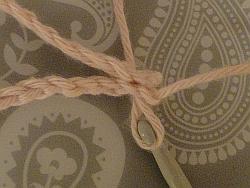 Pulling yarn through.
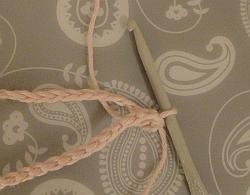 And you end up with this!
~~~~~
Now, I'm going to bring both yarn tails around behind the hook.
5. Wrap the two strands around the hook.
Pull them through the loop on your hook, so making a chain:
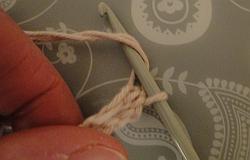 Pulling both tail ends through.
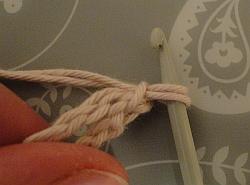 And now you have two loops on your hook :)
~~~~~
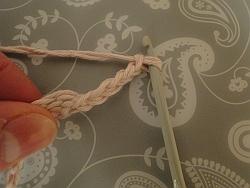
6. Work some more chain, crocheting with both strands.
It's up to you how many chain to do - five or six is fine, or you may like to have a longer cord.
~~~~~
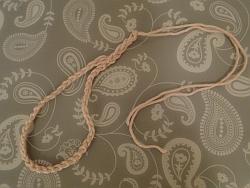
7. When you're happy with the cord length, end your chain:
~~~~~
8. Tighten the end and snip the tail ends neatly.
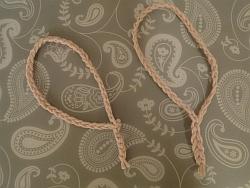
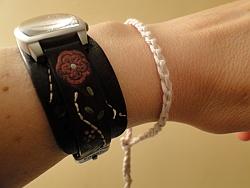
And here's my chain bracelet with a cord:
~~~~~
- Home
- Crochet Jewelry
- Chain Stitch Bracelet
